Photograph your own Still Life
I did this project with teachers. students and administrators during COVID and remote schooling. This was a way for me to get to know my students and fellow staff members better, and it is a very fun, easy was to get moving around, while staging a still life.
Historically a still life painting portrayed objects that were obtainable for only people of wealth. These items were glass, silver, vases, pets such as birds, cats, dogs, food such as oysters, oranges, apples, meat and loafs of fresh bread. Sometimes items/subjects/objects were used as an analogy, or an allegory to add depth and perspective.
A still life must have items in the front (foreground) that are smallest and have more details that need to be seen up close, followed by a middle ground and a background for taller items. Basically staggered in scale (size) small, medium, large.
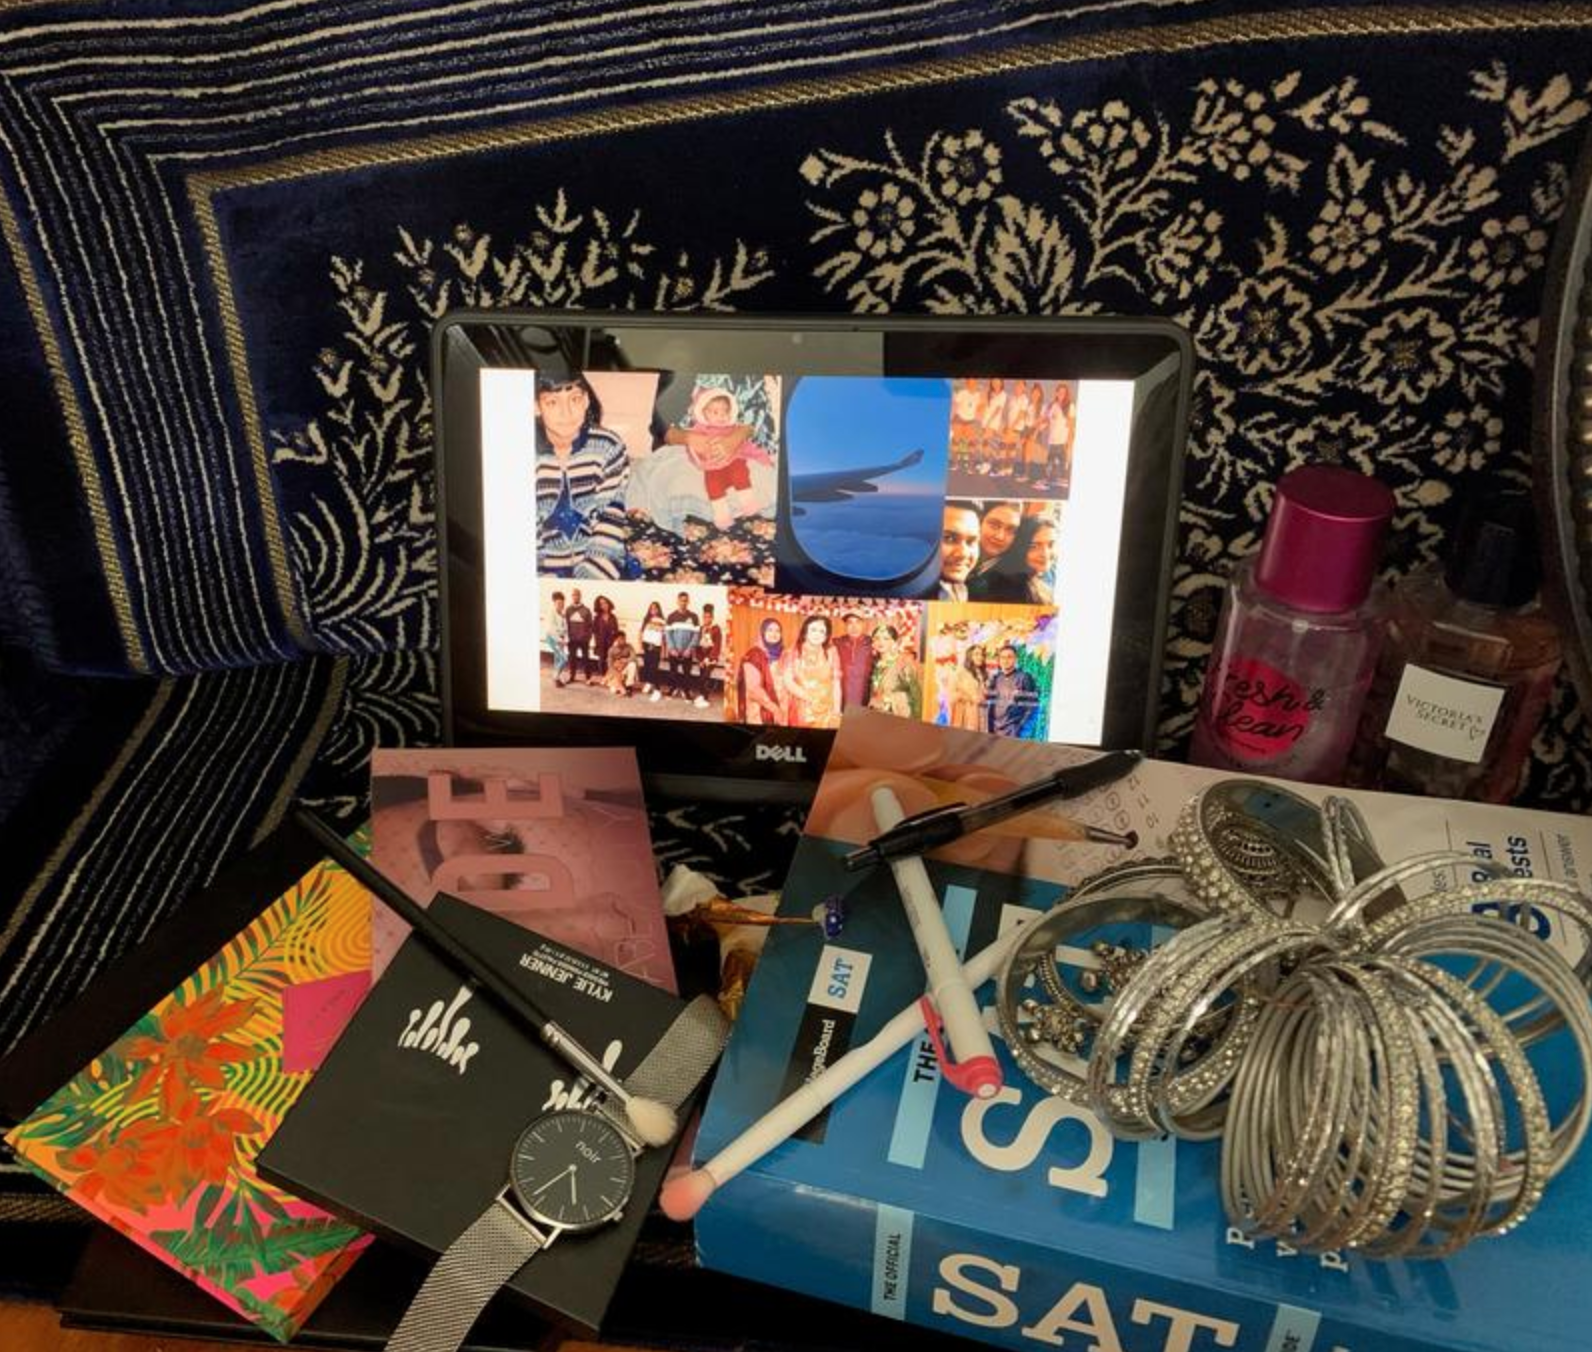
Things to consider while staging your still life to be photographed:
1.) Background- chose a background that adds contract or compliments your staged still life.
2.) Light Source- are you using natural light, or a lamp/other light source. Think about cast shadows, and the mood.
3.) Message- What story are you telling the viewer? Is it an analogy, or something allegorical/mythological?
4.) Take lots of photos- experiment with different angles, above, below, off to the right the left, etc.
Have fun, do this periodically to see where you are at, what you value, what is important to you, what defines you?
You’re welcome.